DIY

A spooky formal…

Hey there! As you’ve heard me mention, a time or two recently, I have had a good bit of fun decorating for Halloween! This is the first year ever that I have done this much for Halloween, and it’s been entertaining! I decided to give our prim-and-proper formal dining room a little spooky makeover!

Halloween

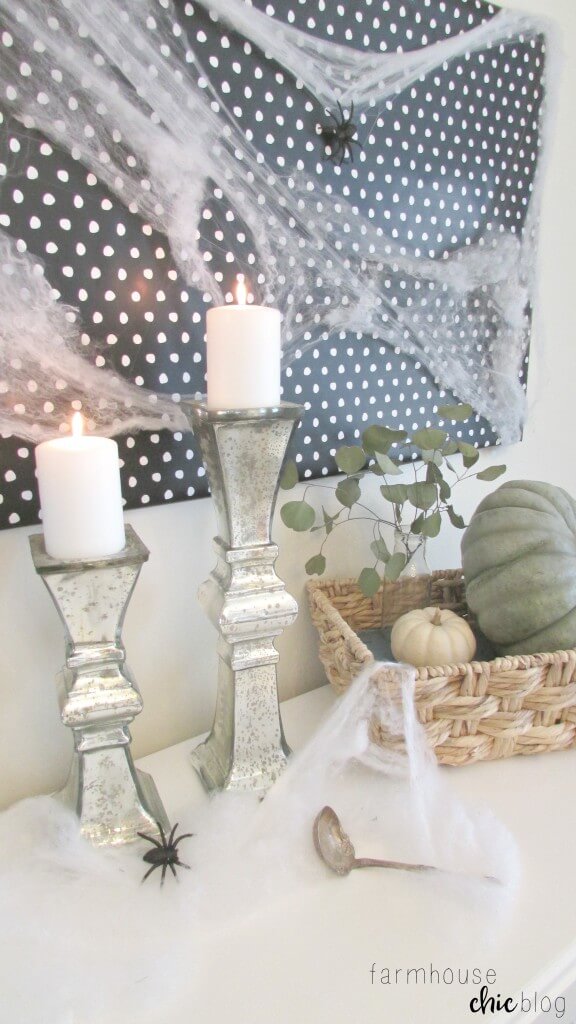
Sticking with the neutral theme we have gone with this year, I wrapped my farmhouse canvas print with a black and white polka dot wrapping paper. This made a difference right away, and it was so simple! From there, I draped faux spider webs across it and dangled a glittery spider near the center. I rearranged my buffet with the decor and allowed it to accommodate very little clutter and added more faux webbing and spiders.
Halloween

Next is where I had a little bit of fun 🙂 Adding some pops of orange into the bunch, I created my Halloween centerpiece! I bought these beautiful paper fans from Target for only $5! They were the focus of my design. I added a couple of orange pumpkins, mini white pumpkins, faux webbing, acorn squash, vintage books and mercury glass into the design.

For me, I start with the center of my table. This is where I added the most height, since this is what the eye automatically draws to. I stacked a couple of vintage books and placed a mercury glass taper candle in the center. I worked around that and created my centerpiece from there. I usually mirror one side to the other. Not using the exact same things, but keeping it similar so the design doesn’t look awkward. I added a short little piece of black and white buffalo check ribbon to my acorn squash. Just that little thing made them fit right in!

Halloween

Halloween

Halloween

What do you think? Spooky chic! I love the fact that I was able to created this centerpiece using items I already had (besides the paper fans!). Incorporate items you already have, so you don’t have to feel guilty for buying new items or additional cost!

Thanks so much for stopping by today! I hope your day is wonderful.

Sharing this project on these blogs!
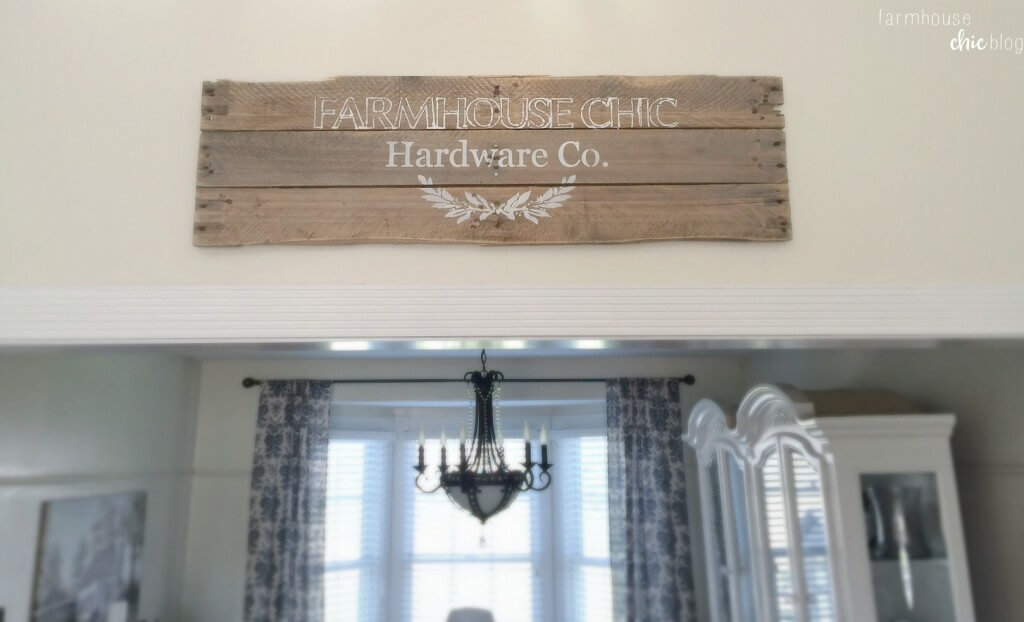
Customized Stenciled Sign

Hello friends! To some I may be known as the crazy sign lady… What? No, no one has ever called me that! 😉 But, I love signs… I love making signs. Can you ever have enough of them? When the opportunity came up to work with Wall Masque stencil company, they told me they had a customized stencil option. I hopped on that like a hot cake, that is right up my alley!

wood sign

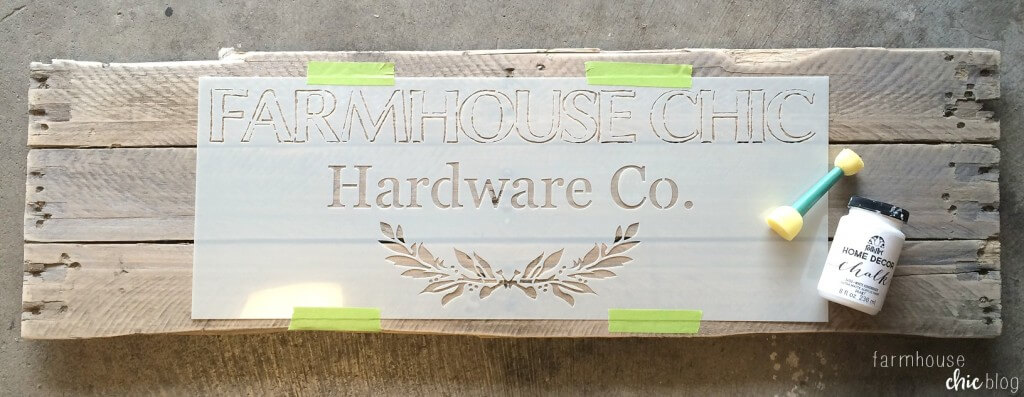
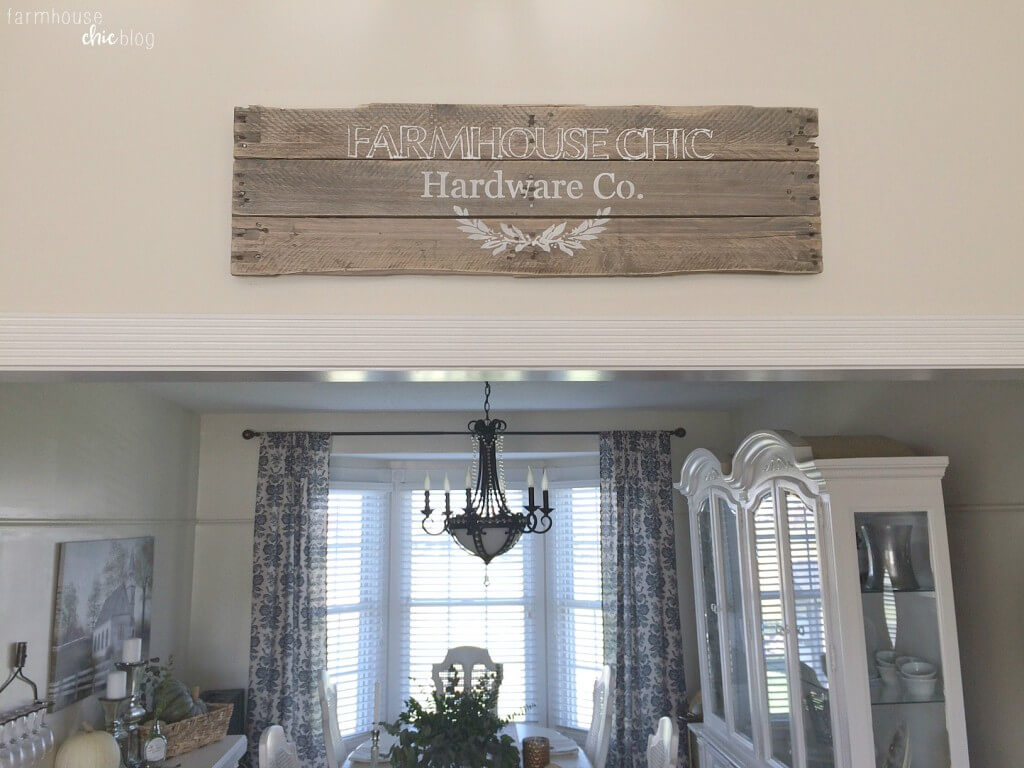
The process for submitting a custom design was rather simple. I created an image using PicMonkey and sent it to them. Within minutes, I had a response that my design had been accepted, and I received my stencil a couple of days later! I opted for “farmhouse chic hardware co.” because it’s so fitting to our household! Of course my blog is Farmhouse Chic, but my husband also builds custom farmhouse tables, so it was a no brainer!

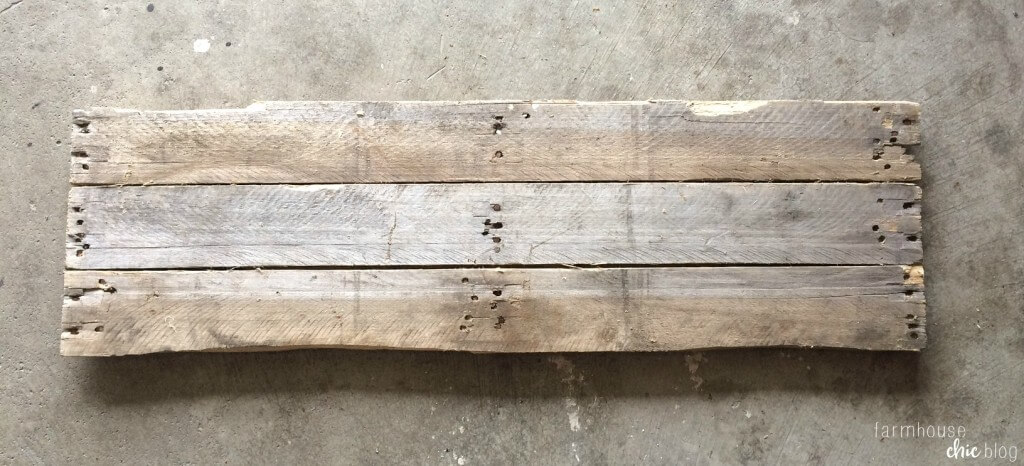
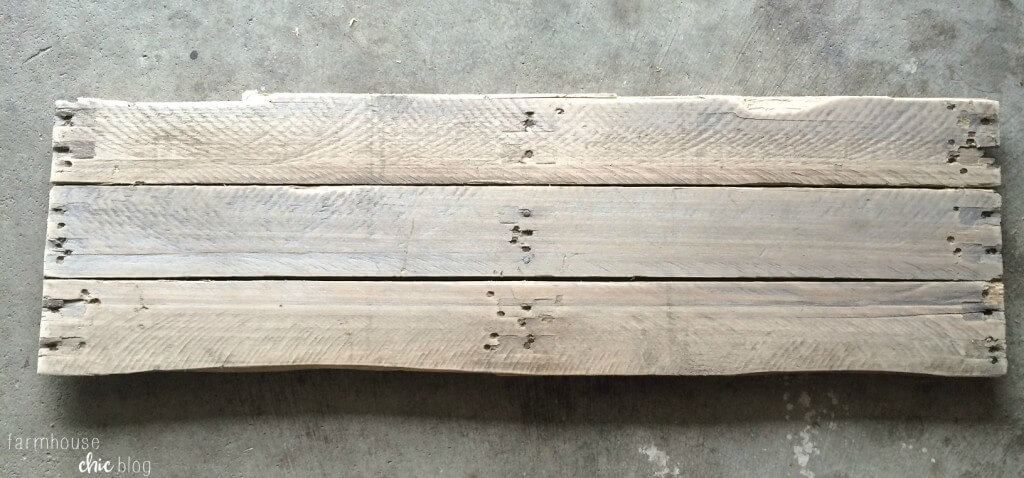
To begin, my husband took three narrow pallet planks and screwed them to a small piece of plywood. I sanded the wood down for a smooth consistency. Next, grab your stencil and tape into place. Using a foam brush take your desired paint and blot over the stencil. I used folkArt home decor chalk paint in white adirondack. It’s my go-to for projects! Don’t get paint happy, use a small amount so it doesn’t create puddling, you can always go back over it if needed. Remove your stencil while the paint is still wet! I allowed my sign to dry completely, and I roughed it up very little using a sanding block. To finish, I sprayed with with a matte clear coat. We hung that pretty up and just love it <3

wood sign
BEFORE SANDING

wood sign
AFTER SANDING

wood sign wood sign

wood sign

Wall Masque is one of my awesome sponsors in my current giveaway!! Don’t miss your opportunity to win a credit for anything you like from them! They have some beautiful stencils and, of course, the customized option! Click HERE to enter the giveaway! Giveaway ends midnight November 13th, 2015.

*Affiliate links included for your convenience.

Thank you so much for stopping by!

Sharing this project on these blogs!
Witches and Wonders Halloween Blog Hop

When you think of Halloween you probably don’t think of putting up a tree. And to be honest, it’s not something I’ve ever done… Until now! I was super excited when I received an email to work with Treetopia and be apart of their Witches and Wonders Halloween Blog Hop! What is that you may ask? It’s where myself and four other ladies chose one of the beautiful Treetopia trees and gave them little Halloween twist!

Today I’m sharing with you my Halloween inspired tree!

Halloween inspired tree

It’s no surprise Tinsel found her cozy spot right in the middle of all the action 🙂 But no complaints here! She looks beautiful next to my Halloween tree! I was a little nervous at the thoughts of decorating a tree in colors I typically don’t use. But I’ll tell ya what, I’m just tickled with how it turned out!

The gorgeous black and gold ombre Christmas tree totally steals the show! This is such a beautiful tree and I cannot wait to decorate it for Christmas too! It’s definitely one that I will be using again and again! Conveniently, we were watching our favorite Halloween movie, Hocus Pocus, and I began to gather inspiration for my design!

Halloween inspired tree

I wanted to include some of the significant necessities of this frightful holiday. Things like skulls, witch hats, broomsticks, witch fingers and spider webs! I had fun incorporating colors like orange, green and purple into it too! My little girl didn’t have school the day we decorated the tree, so she had a lot of fun helping me add on the fun items that brought this tree to life!

Even baby Gray decided to “help” with the tree, haha!

So what do you think? Something you could see or yourself doing next year? What a fun addition to Halloween decor!

Thank you for stopping by! Be sure to check out the other bloggers participating!

Jennifer Perkins

All Things with Purpose

Sunshine and Sippy Cups

The Latina Next Door

Early Fall Mantel

Hey you, welcome! I’m so happy you’re here hanging out with me this morning! It’s beginning for feel more like Fall here in Ohio… The temps are crisp in the mornings and evenings and it’s got me so excited for them to stick around!

Today I’m excited to share with you my early Fall mantel. It isn’t anything over-the-top. It’s very simple and clean, and I love it! I have had a major obsession with silver dollar eucalyptus lately. It is just so beautiful and whimsy, I can’t get enough of it! It pairs perfectly with white and blue pumpkins, which I’m also obsessed with this time of year. I’m a firm believer that using books as “fillers” in design, is one of the best things ever! I love incorporating books, as often as possible. It just makes the space look and feel cozy, instantly.

Fall mantel

You know, I love making book page banners too, so this one is a glitter F A L L banner; super simple. Check out my banner from last Fall here! I will have these adorable glitter Fall banners for sale at the Zassy’s Fall Barn Sale October 1-3, and also for purchase in my Etsy shop, soon!

Fall mantel

Fall mantel

Thank you so much for stopping by and checking out my early Fall mantel design! I hope you’re leaving here a little more inspired to think outside the Fall design box! 😉 Have a wonderful week and come back soon!!

Sharing on these amazing blogs!

DIY work desk

The truth is, sometimes it takes me months to finally write a post on projects we’ve accomplished around the house. You may remember awhile back, me sharing some photos on Instagram of a table my husband and I were making. We actually created it to be a work desk for my office! To this day, it is one of my favorite pieces we’ve ever made!!

DIY office desk

This DIY work desk is the perfect piece for my office and allows me to have the adequate amount of working space I need for things like my sewing machine, printer and silhouette! And lucky you, I’m sharing how we made it today 😉

We headed to Lowe’s and purchased a clear kiln-dried aspen panel that measured 24″w X 72″l for the top, 3 spruce pine furring strips that measure 1″ X 8ft., and 2 spruce pine furring strips that measured 2.5″ X 8ft.. Previous to starting our project we purchased oak wood table legs from Amazon here, but you can purchase similar from Lowe’s here. Once home, we began to assemble the table! Choose a side for the top and bottom of the aspen panel. Make sure you have a sturdy work station. In our case, we used to saw horses to rest the panel on. Please excuse our messy garage!! Next, take a strip of the 1″ furring strips, measure it to length of the panel and cut, continue for each side. Using your nail gun, nail each piece into place. The top side of the table will be flat, but the bottom will have a bit of a lip. Get your table legs and position them to your desired location on the bottom of the panel. Using an angel, drill and screw into place. Grab your 2.5″ furring strip and measure between each leg, cut to size and screw into place. Using some extra 1″ furring strips, create some stability for the table by using short screws and screwing equally the length of the panel. Flip your piece over and relish in it’s beauty!!

Make sure everything is even and there are no screws popping through. Using filler, begin to fill your nail holes. Once dry, use a sanding block and sand until smooth. I used a dark walnut stain I already had and stained the entire piece. Once that was dry, I made a mixture of white paint and water for whitewashing. I love using the whitewashing technique because it gives it a worn, rustic look! Work in small areas when whitewashing. Simply brush it on, allow it to sit for a few seconds and wipe it off with a clean white towel. Continue this for the entire piece. The longer you allow the whitewash to sit, the more the piece will absorb the color.

DIY office desk

I am just tickled with how the finished product turned out! It’s truly a beautiful piece to see in person and it looks so expensive!!

So what do you think? Thank you for stopping by! Be sure to stop by next week, I’m sharing how I made the french-inspired drop cloth skirt!

Sharing on these blogs!

Scroll to top