Blog

Cranberry & Brie Bruschetta

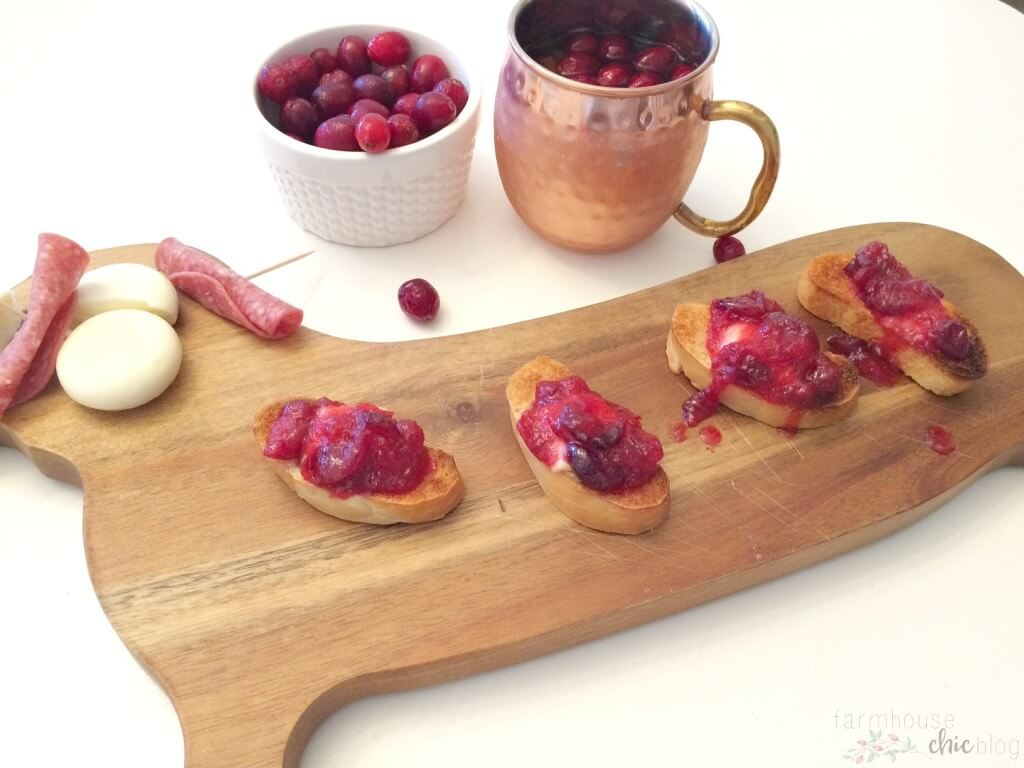
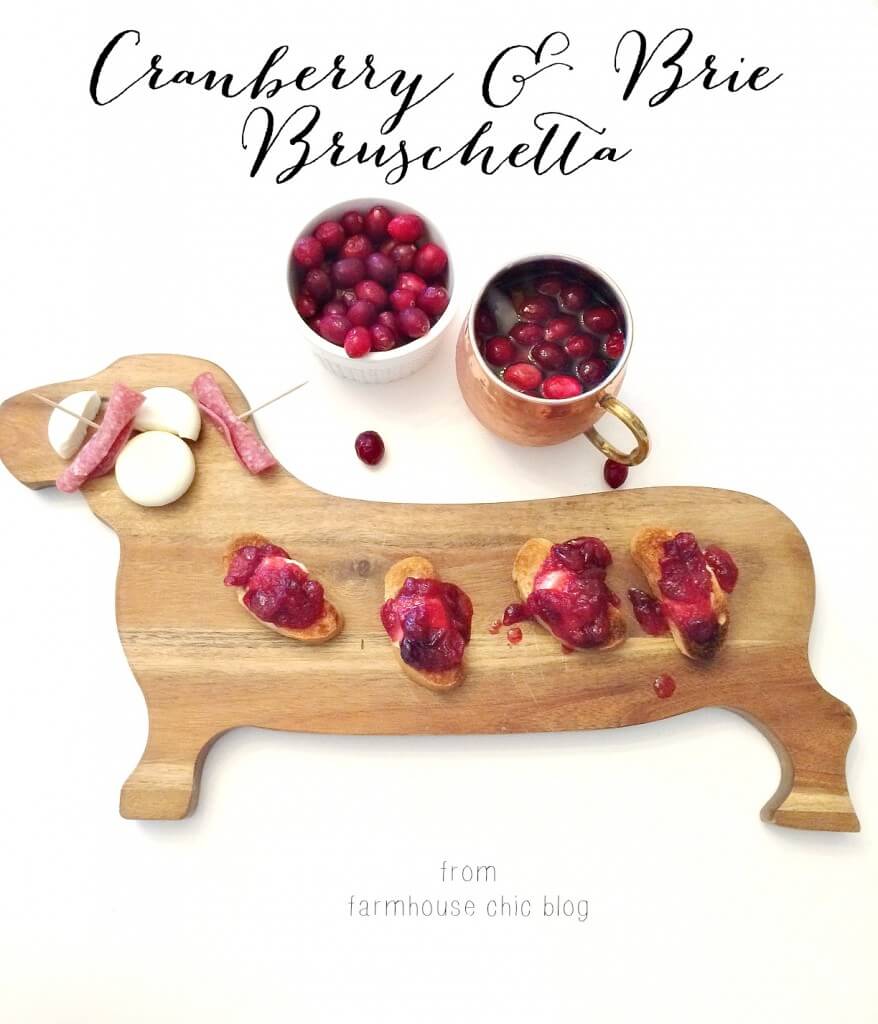
I am pretty excited to share this simple and tasty appetizer with you today! It’s absolutely perfect for your next Christmas party or gathering! Cranberry & brie bruschetta…. Enough said!
cranberry & brie bruschetta

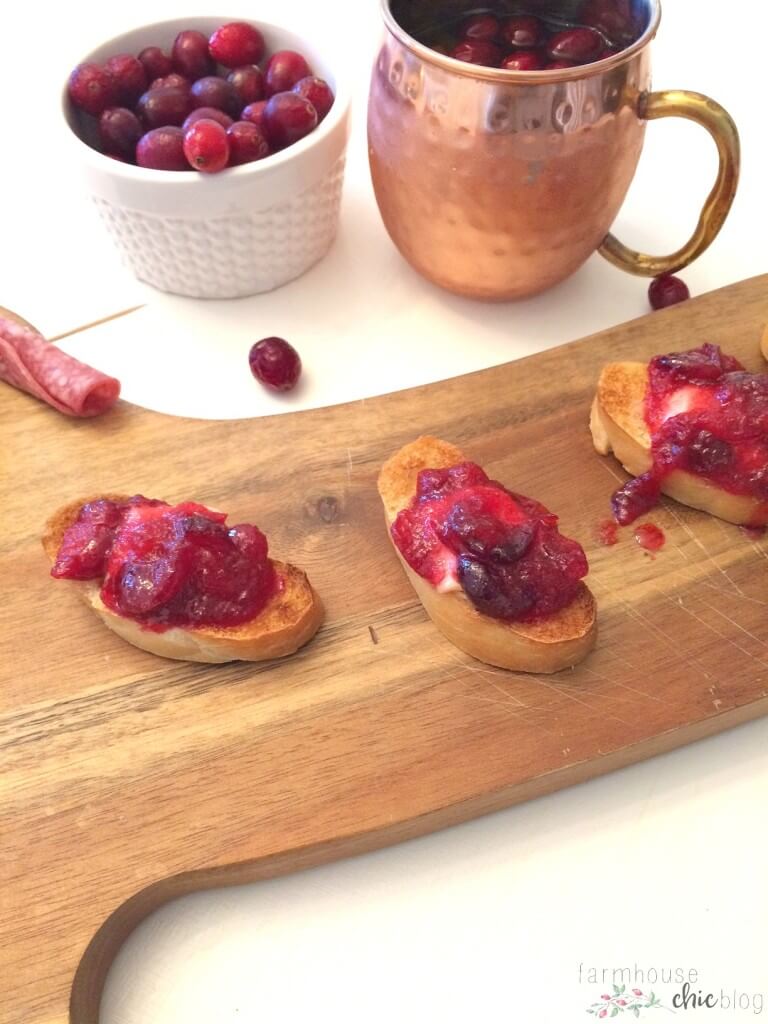
If you’re a fan of cranberries, this is a must try recipe!! The flavors of the homemade cranberry sauce paired with the french baguette and slice of brie, is unbelievable! And the best part is, you can whip this tasty recipe up in nearly twenty minutes!

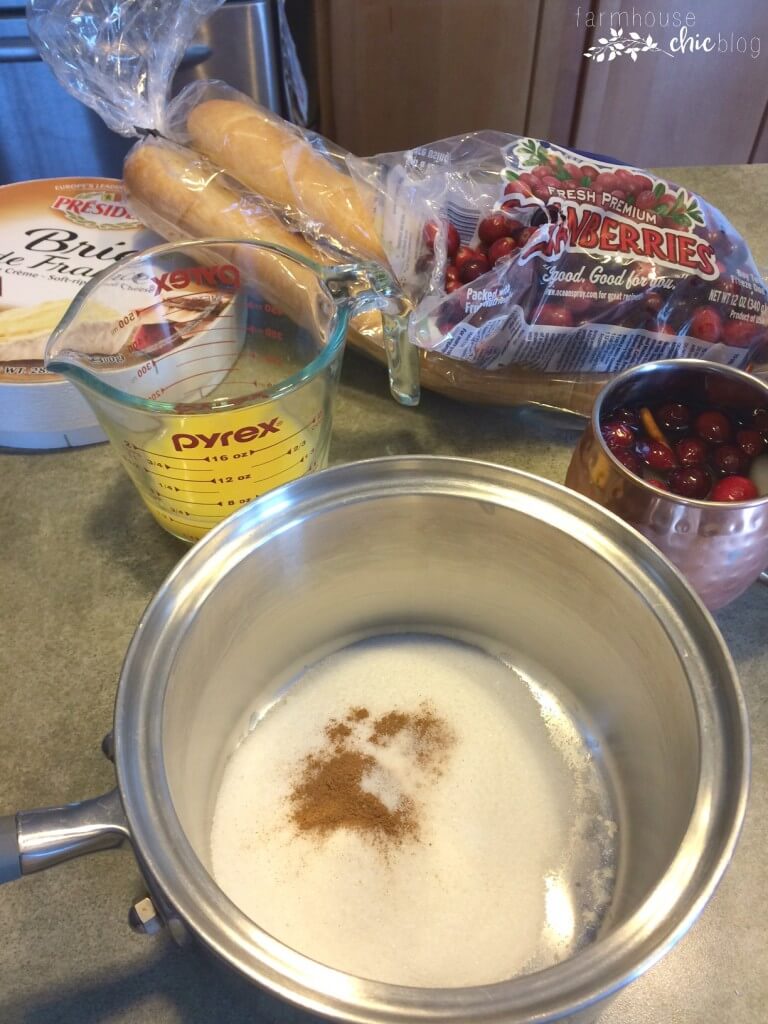
Recipe for the homemade cranberry sauce:
homemade cranberry sauce

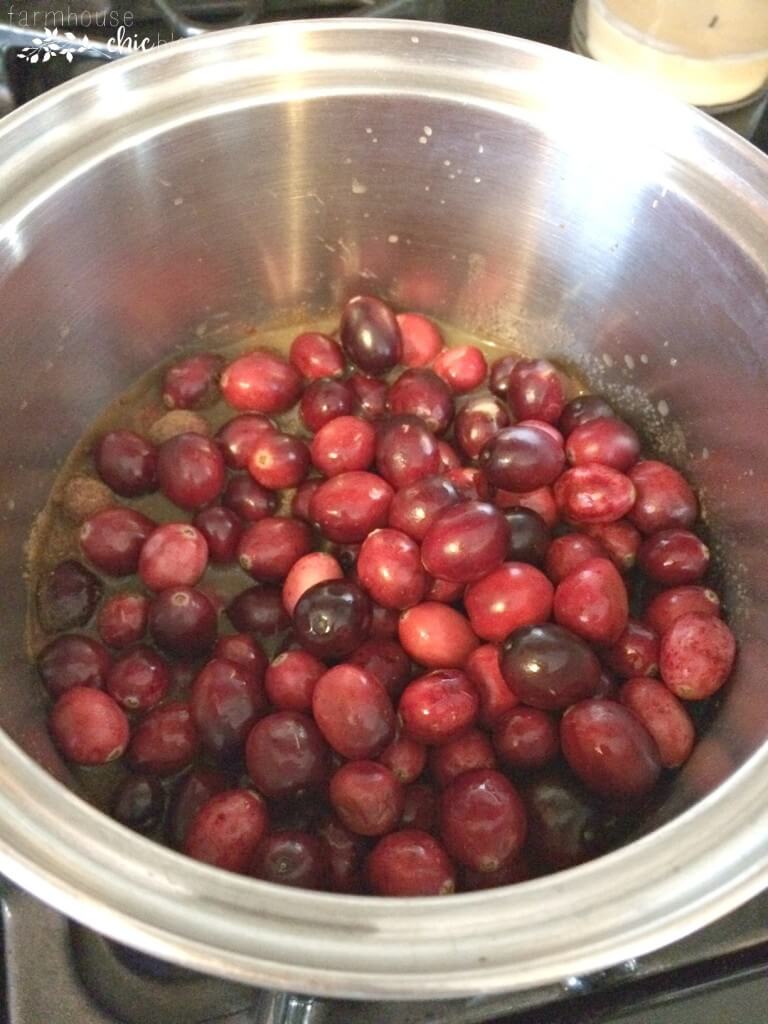
While the cranberry sauce is cooking, cut up a loaf of french baguette into thin slices. Arrange them on a cookie sheet and brush them lightly with olive oil. Cook under the broiler for about 1 minute. Remove from the oven. I’m not sure if you’ve ever used brie before, but I always remove the rhine, which is a little messy! The way I do it is, cut the top, side and bottom. Add a small slice of brie to each baguette slice and cook at 350 F for 3-5 minutes, or until brie has melted. By this time, your cranberry sauce with be fragrant and ready! Add a spoonful of cranberry sauce to the top of your baguette and brie. Continue this for each piece!
homemade cranberry sauce

homemade cranberry sauce

homemade cranberry sauce

homemade cranberry sauce

homemade cranberry sauce

This is a beautiful display and equally delicious! I will be sharing a tasty recipe for a delicious spiked cranberry drink next week, so stayed tuned!!

Thanks for stopping by and hanging out with me today! Have a lovely week <3

Finding Inspiration…

I truly believe we all go through seasons…. seasons of becoming, seasons of growth, seasons of drought and seasons of uncertainty. Like most of us, the typical cliche outlook for a new year, is to be better than we were before… try new things, get rid of things from our lives that don’t complete us or make us better, be more present, have a lasting effect in this world. Am I right? It seems like in no time at all, we lose sight of those “resolutions”.

I will be the first to admit that resolutions or self- pressure can be a little overwhelming. Instead of looking at it as something that “has to be done”, look at it more as a mind-set change. Wake up daily and look at the positive. A beautiful, new morning! All the blessings you have. What you’re thankful for. And thank God for those things out loud while you’re getting ready for the day or taking a shower. Verbalize your gratefulness.

Finding Inspiration

It’s amazing what those little changes can do to our mindset for the day! Start by making gradual changes each day, each week or even each month. This is YOUR life, you are in control and there is no rush. Breathe. Girl, you got this! You are SO worth this change you’ve been longing for!!

With that being said, that brings me to the topic of finding inspiration. It’s hard to find inspiration when you are in a place of uncertainty. And when I say uncertainty, I mean finding your place in this big world. As a home decor blogger, I have changed so many things around my house time and time again. I have done many DIY projects. I have shared my favorite recipes. You name it, I’ve done it! There are so many amazing people out there that do the same things I do and sometimes I feel less than. I know it’s silly, but it’s a feeling I know a lot of us get in one way or another.

I have struggled with finding inspiration after the holidays this year. And that brings me to the question… What do you want to see from me this year in 2020? What type of content would you like me to share on the blog?

More home projects? More DIY? More home decor finds & antiques?

I want to hear from you! Having a little direction will give me inspiration!

Non-traditional Chic Halloween Mantel

Hey you, thanks for stopping by today! I know, just last week I shared my Fall 2015 Home Tour, but just like that I’ve taken down my Fall mantel and decorated for Halloween! I normally don’t decorate for Halloween, but this year my little ones have convinced me to, and I’m very pleased with how my non-traditional chic Halloween mantel turned out!

Halloween

Since my design this Fall has been neutral colors, I continued with that theme and came up with something daringly different! I opted for white, eucalyptus, mercury glass and crystals!

I very easily created a doilie banner, by simply hot gluing four dollar store paper doilies to a piece of twine. I hung that piece first. I then hung a “BOO” book page banner I had made, days before, off the sides. Lastly, using small pieces of fish line on the ends, I created a loop and taped a strand of crystal in between the two banners. I was so pleased with how it turned out, and how simple it was to achieve!

Halloween

The fresh silver dollar eucalyptus never disappoints! I purchased a bunch from my local grocer the other day and added bits to this design. As I’ve said before, I just adore how whimsy it is!! Oh, and do you see that cute little Halloween printable to the left there? I will be sharing that next week over at Just Us Four blog, where I contribute free printables once a month!

My little one and I spotted black glittery spiders on sale at Michaels, and they fit in perfectly throughout our mantel! It’s just the right amount of black! And, of course, you can never go wrong with glitter! I painted the previously gold picture frame I scored at Goodwill for less than buck, with black chalk paint and I love it now!

I added a couple mini white pumpkins, some of my go-to kraft covered books, some mercury glass and voila! After just a few short minutes, a non-traditional chic Halloween mantel was created!

Halloween

Thank you so much for stopping by! So, what do you think of this non-traditional Halloween design? Is it something you would add to your home? I love to hear your feedback 🙂

Sharing this post on these blogs!

Spooky, Chic Halloween Mantel

Boo! Tis’ the season to get extra spooky! To embrace your fun & out-of-the norm design styles that you may fall into on a daily basis.

Today I’m sharing my spooky, chic halloween mantel with you all & I must say I had SO much fun with this! It was a special request from my daughter to decorate, more than we normally do, for halloween this year! Without hesitation I said YES!

For the design, I wanted to incorporate black as the bold, stark focal point. I found these paper bats from Target & unfortunately they are no longer available, but you can find similar [ here, here & here]. We just began sticking them on the wall in a curved manner. I love how it turned out!

Next, we started with a clean slate on the mantel. I wanted to add my favorite mercury glass pieces, old books, dried hydrangeas, fake spider webs & my baby boo pumpkins! Oh, and for fun we added mini black witch hats!

Here’s what we came up with…

Chic Halloween Mantel

If you follow along on Instagram, you may have participated in the poll last week, of me asking if I should decorate a halloween tree. I did this a few years back too, you can click here to see that post.

I am so happy with how this little spooky tree turned out! Almost all items used came from the dollar store! We used things like fake spider webs, skull ornaments, glow-in-the-dark witch fingers, sparkly ornaments & a witch hat as the tree topper!


We had so much fun with this design! Soon we will be decorating the porch for halloween, so stay tuned for that!

Pretty in pink Christmas

Hey friend! I have been sharing little peeks of my office pretty in pink Christmas tree for a couple weeks now. Today I’m sharing all the details!

It is one of my favorites! It is simple, feminine, pink, sparkly & allll the feels. The tree is a 6.5 foot black & gold ombre tree. It has been such a fun tree to decorate because it is so multi-functional.

*See it decorated below:

Spooky, Chic Halloween Mantel – Farmhouse Chic Blog.

Farmhouse Shabby Chic Christmas – Farmhouse Chic Blog

I started off with some easy DIY ornaments I made years ago using small inexpensive store frames & adding scripture print in them. Check out the tutorial HERE. Next, I began adding in glittery ornaments & mercury glass balls in silver & white. I absolutely love working with pinks, champagnes & all the neutrals! It truly makes for a stunning combination!

pink christmas

Time for fillers! I used glittery stems, glittered eucalyptus, white eucalyptus, glittery ferns & such. Fillers bring your tree to life & give it so much character! I love using big, whimsy stems that droop & hang. My favorite touch to this pretty in pink Christmas tree design, is the velvet poinsettias I snagged from Hobby Lobby for half off!

It is truly the perfect addition to my office! I love looking at it & hope to keep it up for awhile! Even after the new year!

Thank you so much for stopping by & I hope to see you back here again soon!

Scroll to top