Hello friend! It’s great to have you here today! It was a beautiful weekend that consisted of lots of laughs, dreamy weather and a little farm market that had pumpkins!! As you can imagine, I was ecstatic about that! I have been busy preparing for the barn show I will be a part of the first of October ( I will share more about that later!). That has put me even more in the mood for Fall, because I’m making so many lovely Fall decor items! With that said, I finally finished the Windsor bench and I was eager to decorate it for Fall 🙂
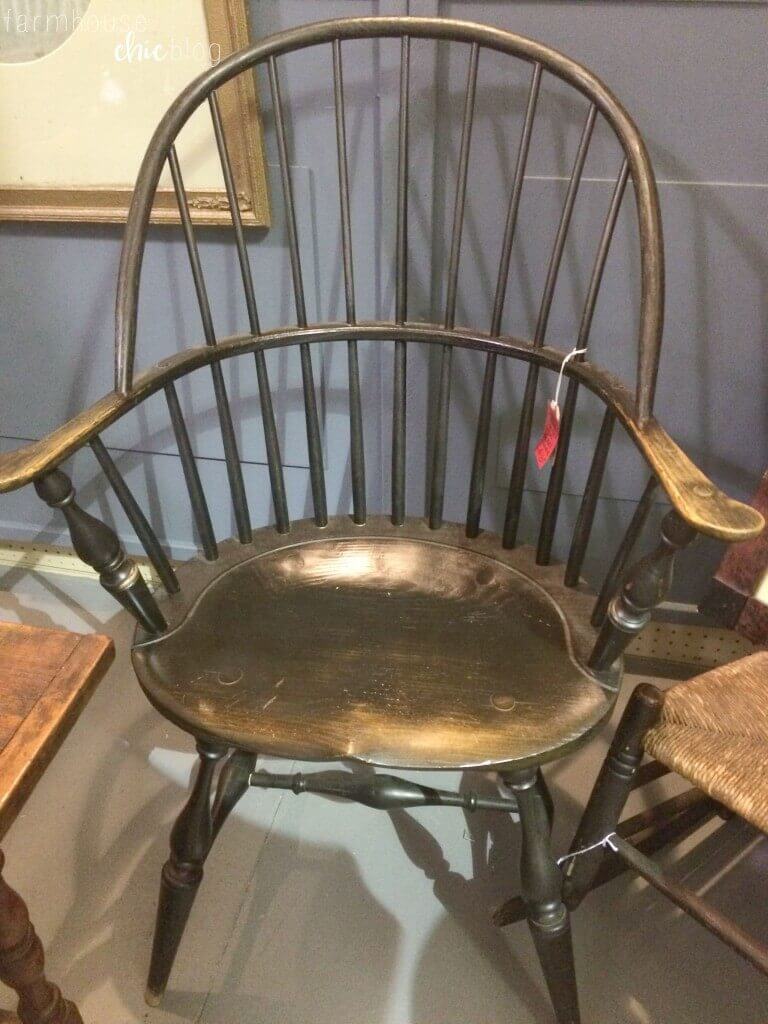
A few months back while shopping at a local Antique Mall, I came across a really lovely, old black Windsor chair. I mean this thing was beautiful! I quickly looked at the price tag, only to be shocked it was $495! Say whaaat? Crazy stuff right there! I left, somewhat, broken hearted…
A few days later, to my surprise I came across a very similar bench someone was selling. I jumped on that like a hot cake, and ended up getting it! I was like a little kid in a candy store! It was beautiful, and I couldn’t wait to get working on it!
When we bought it, it was a combination of hunter green stained wood and a stained maple-colored seat. I didn’t care for the combination, and I kept reverting back to the black Windsor chair, so I knew it was going to be black! Black is a color I have never painted a piece of furniture before, so I was a little intimidated… You can see the “before” picture below, and PLEASE excuse our messy garage! I’m just keepin’ it real folks 😉

Before I got to painting, I sanded the seat down to the natural wood. It was looking better already!! I began painting soon after, no taping off, nothing. I quickly realized that was a big mistake when I started getting close to the ends of the spindles; oh, did I forget to mention the seat wasn’t going to be painted black! Yes, so smarty pants me, I figured I could easily sand off any small marks I would get on the wood while painting.. wrong! It was a disaster, and I may have cried. I called my husband and he had just the trick to fix it. He hooked up a wire brush attachment to his cordless drill, and with a little bit of time, the paint marks were gone! I took the time (a really, really long time!) to tape around each spindle so no marks would get on the seat. Using a foam brush, I began painting with folk art rich black chalk paint. I love this chalk paint! It covers amazingly, and is so affordable compared to similar products. I allowed each coat to dry completely, giving it a total of 3 coats. The entire piece dried for a couple of days before I began the next step!
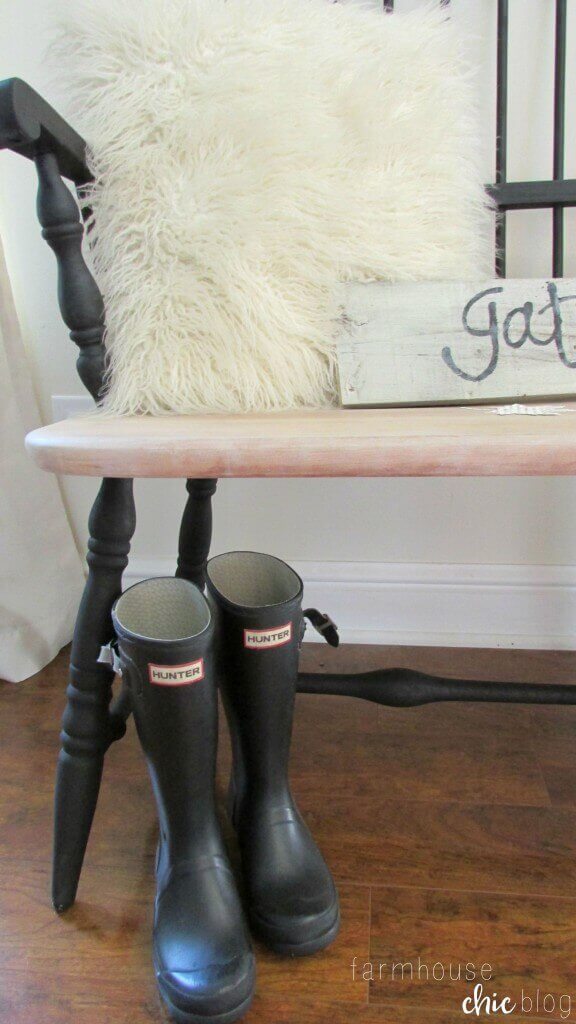
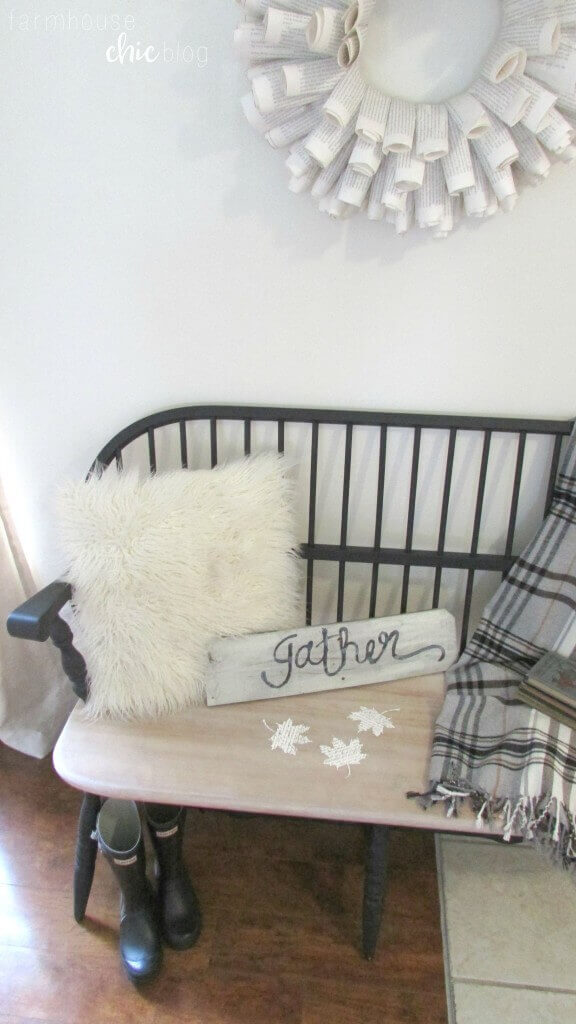
I loved how the bench looked!! It was a totally different piece from when I had first got it! But, I wasn’t done yet… I wanted a little more character, so I opted for Miss Mustard Seeds white wax. I applied the wax using a wax brush, applying even coverage to each part. I gave it a good two coats. Once it was dry, I topped the entire piece off with a folk art clear wax. And it was finally done! DONE! I was so happy with how it turned out! I couldn’t wait to get it inside and stage it for Fall 🙂


So, what do you think of how it turned out? I can’t wait to hear what you all have to say!
Thanks so much for stopping by and hanging out with me a bit today!
Sharing this project on these blogs!
* Affiliate links provided for your convienece!
